Using Pluck and ComfyUI Together: Design the Direction, Then Refine the Pixels
- guide
- studio
- comparison

We get asked whether Pluck Studio replaces ComfyUI. It doesn't, and for a lot of design work the best setup uses both. They're good at different halves of the job:
- Pluck Studio is for deciding what a website or app screen should look like: collecting real references, briefing, comparing directions and converging on one.
- ComfyUI is for everything that happens to pixels: upscaling, inpainting, making illustrations and product shots, and turning stills into motion.
Here's the workflow, end to end.
1. Collect references with the extension
Browse as usual with the Pluck extension installed. When you see a navigation bar, a pricing table or a hero you like, click it. Each pluck goes to your Studio library with its screenshot, the page it came from and its full style data.
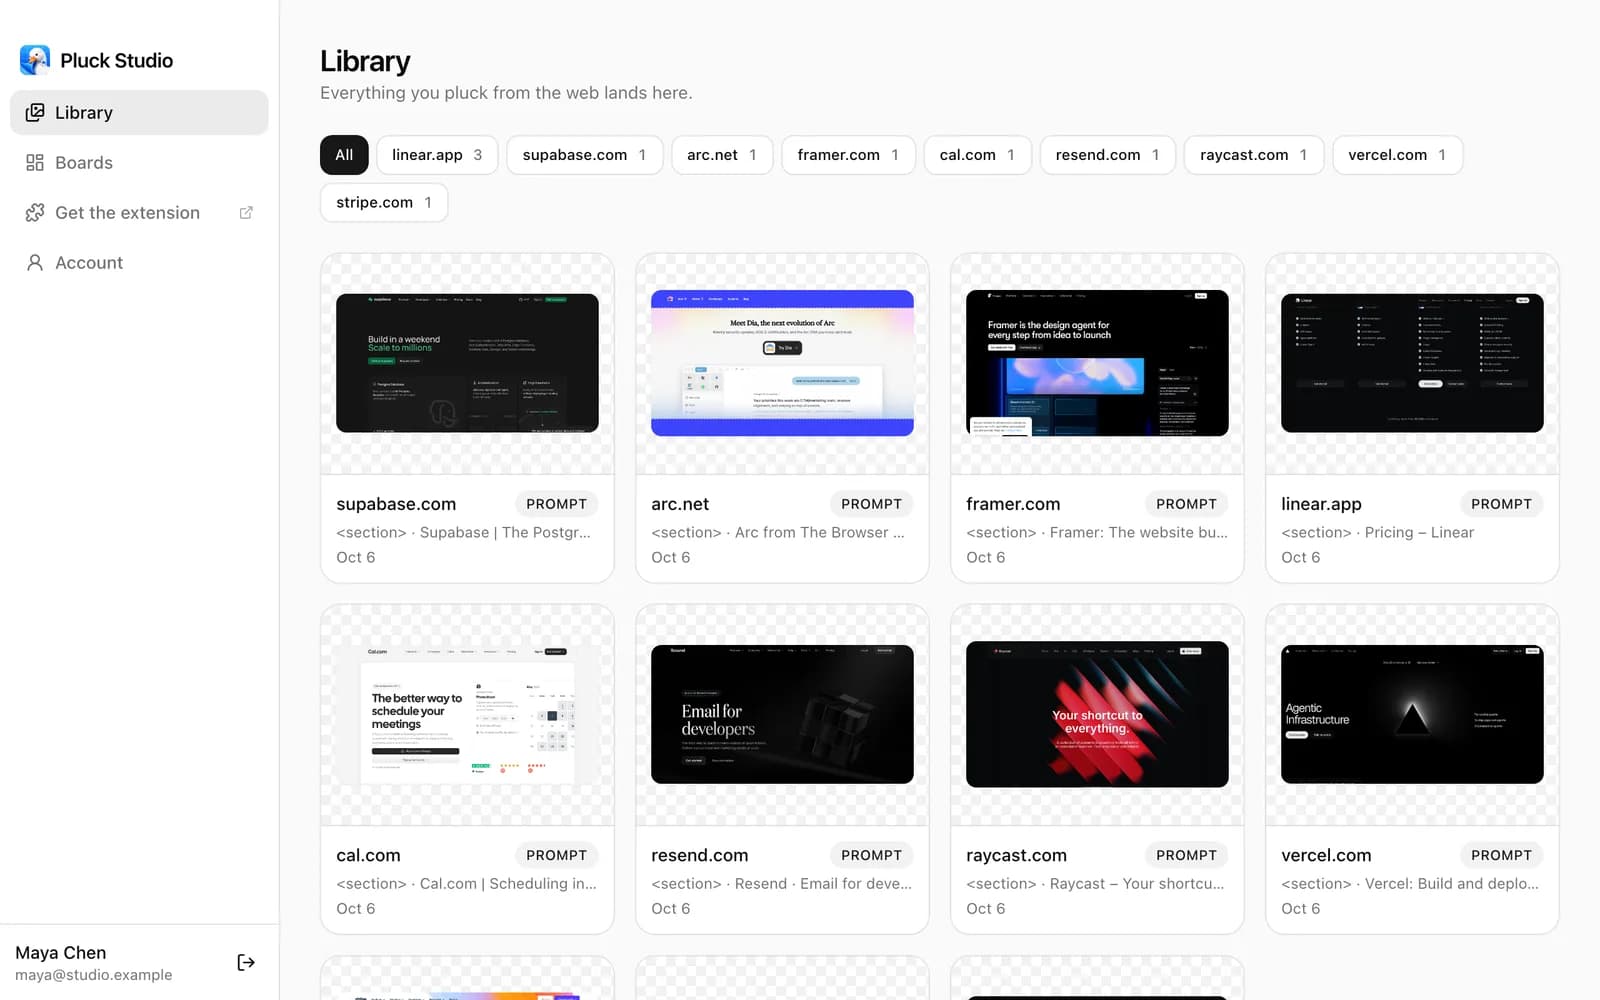 Every reference you pluck lands in the Studio library.
Pluck more than you need, and across categories: three navigation bars, three pricing tables, three dashboards. Building a moodboard from real websites covers this step in detail.
2. Find the direction on a board
Open a board in Pluck Studio, add the plucks, and connect them into a prompt card:
A landing page for a time-tracking app. Navigation from the first
reference, pricing table from the second, the density of the third.
Warm, light palette.
Run it on Auto, or pick a model. Nano Banana 2 is a good default for briefs with several references; GPT Image 2 is the most accurate with UI text. Run it a few times, or run it on Local through your own Codex in the desktop app if you want to explore without spending credits.
Then iterate. Connect the best generations into a new prompt and use Each or Combine: Each applies one change to every candidate, Combine merges the best parts into one image.
Stay in Pluck until the layout, hierarchy and mood are settled. Those are the decisions it's built for.
3. Bring the generation into ComfyUI
When a direction is settled, download the generation with the download button on its card and load it into ComfyUI with a Load Image node. From there, use whatever ComfyUI workflow fits. Its built-in templates are a good place to start. Some common ones:
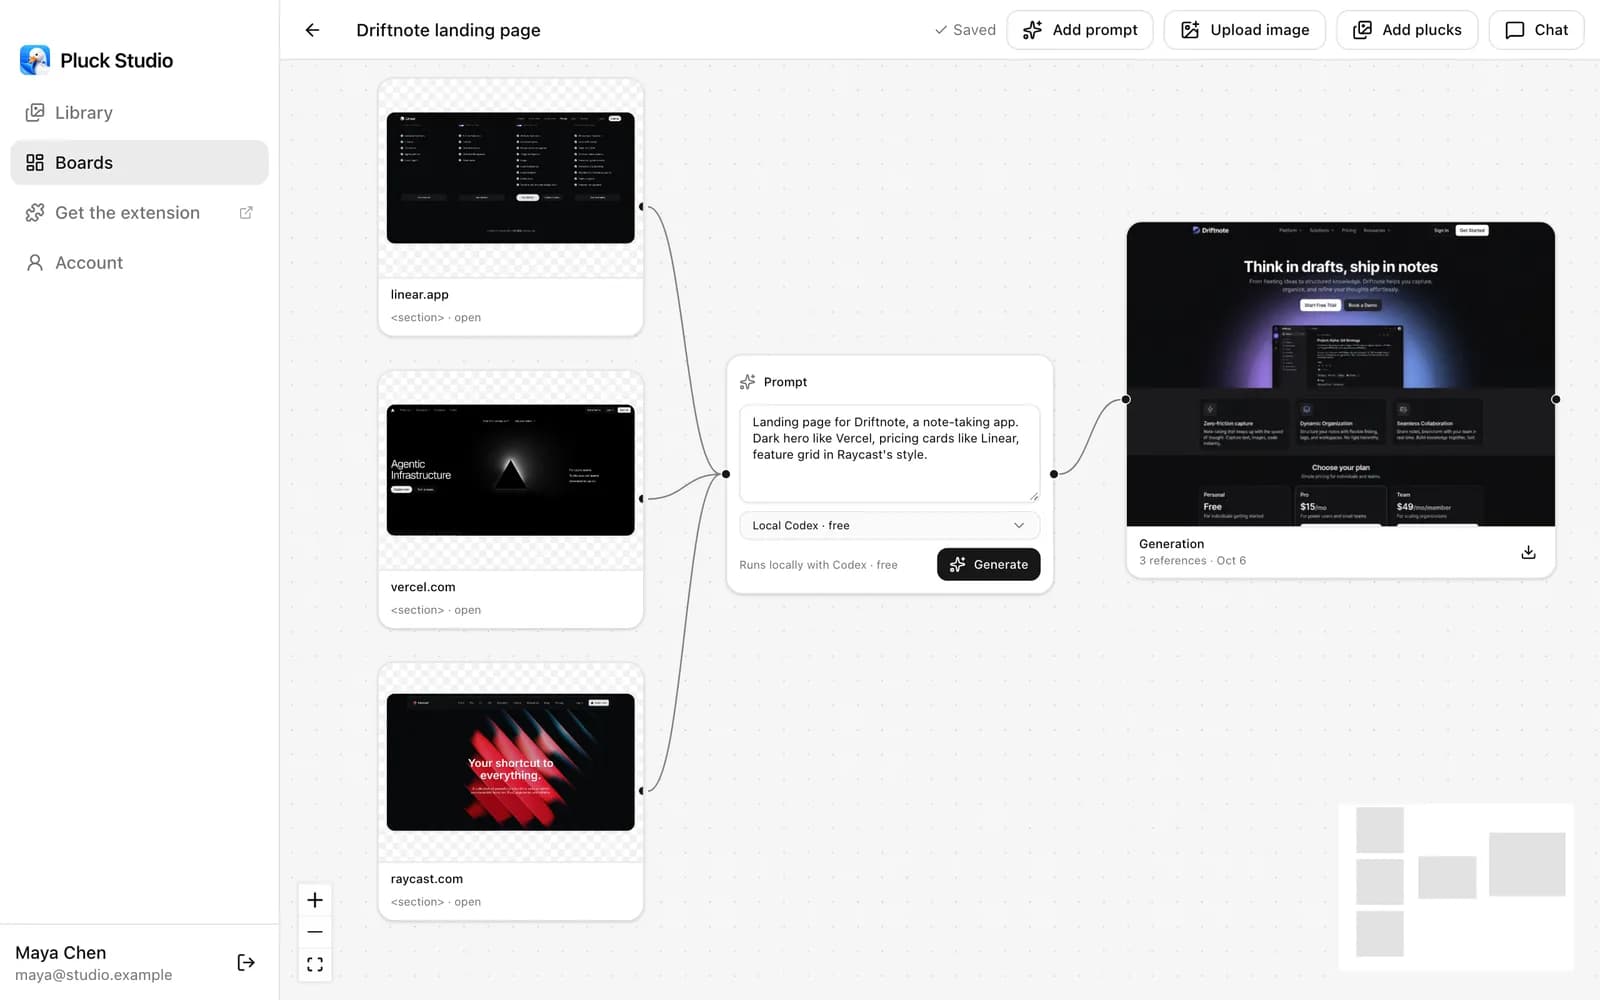 The download button sits on each generation card.
- Upscale it for a presentation. Run it through an upscale model so it holds up on a big screen or in a pitch deck.
- Inpaint a region. Mask the product screenshot in the hero and replace it with a real one, or fix a logo that came out wrong.
- Animate it. Run an image-to-video workflow to show how the hero might move, for a stakeholder review or a social teaser.
One tip: if the problem is the UI text itself, fix it in Pluck, not in ComfyUI. Upscaling garbled text gives you sharper garbled text. Re-run the prompt on GPT Image 2 or at a higher quality tier instead (Nano Banana 2 goes up to 4K).
4. Make the assets in ComfyUI, then bring them back
It works the other way too. ComfyUI with open-weight models and LoRAs is the best place to make the things that go into a design: hero illustrations, product shots, textures, icon sets in a consistent style.
Upload those to your Pluck board as image cards and connect them into a prompt next to your plucks:
Use the illustration from the uploaded image as the hero artwork.
Keep the layout of the current design.
Now the mockup uses your real assets, not the model's guess at them.
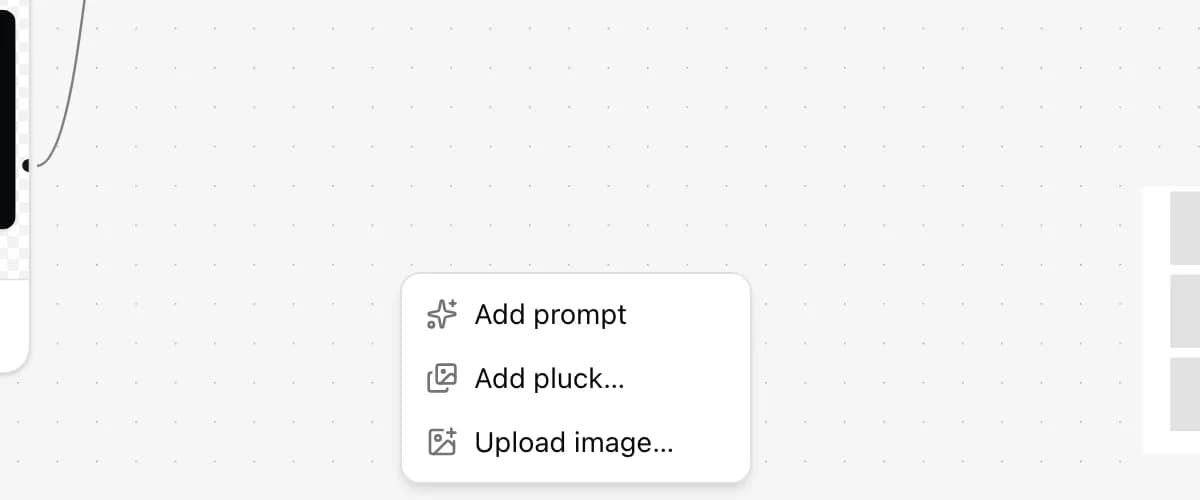 Right-click the canvas to upload an image as a reference card.
5. Build it
A generated image is a sketch, not a deliverable. When you're ready to build, go back to the plucks behind the design. They're still in your library with their full style data, so you can copy them as an AI prompt for Cursor, Claude, Lovable, Bolt or v0, or paste them into Figma as editable layers. Agents can read the board directly too, through Pluck's MCP server.
Who does what
| Step | Tool |
|---|---|
| Collect references from real websites | Pluck extension |
| Brief, compare and converge on a direction | Pluck Studio |
| Upscale, inpaint, fix details | ComfyUI |
| Illustrations, product shots, textures | ComfyUI |
| Motion and video | ComfyUI |
| Hand off to code or Figma | Pluck extension and library |
If you're deciding between the two rather than combining them, Pluck vs ComfyUI has the full side-by-side, including the things only ComfyUI can do.